


Maybe you’ve purchased all different kinds of odds and ends as gifts for your loved ones this Christmas, and you don’t know where to start when it comes to wrapping them. Even thinking about how you’re going to wrap everything sends you into a tizzy. Or, maybe you’re a seasoned Christmas present-wrapper. You want to change your wrapping process up a bit, but you’re unsure how. No matter where you fall on the scale of Christmas wrapping, we’ve got tips and tricks on how to wrap your presents!
The Way You Wrap Depends on What You Bought
Each present is different! There’s a couple of questions you want to ask yourself prior to cutting the wrapping paper.
- How big is the item? You’ll want to measure the item before you start wrapping it. Get a ruler or measuring tape and write all the dimensions down. Then, take the same ruler/measuring tape and roll out the wrapping paper to match. To be safe, try and measure a little bit longer or wider. Nothing is worse than cutting a piece of wrapping paper that doesn’t fit after you start folding corners! Another option is placing the present on the bottom corner of the wrapping paper and making ticks on the wrapping paper where the edges of the present are. Add an inch or two to the measurements to ensure you have enough. You can always trim down later.
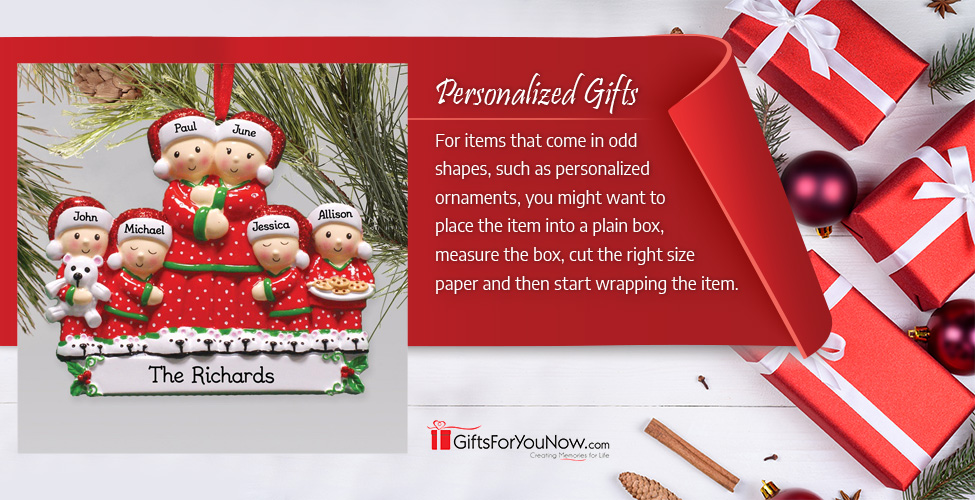
- What type of item did you purchase? A wine bottle is different than a boxed item, so you’ll want to look up some of the best ways to wrap different types of gifts. For items that can come in odd shapes, such as personalized ornaments, you might want to place the item into a plain box, measure the box, cut the right size of paper and then start wrapping the item.
Think Outside the Box This Year
Wrapping gifts doesn’t have to be a mundane and repetitive process! There are so many different ways to wrap a present.
- Keep Gifts for the Same Person Together. Look at the pieces you purchased for one person. Did you purchase a larger item that some of the smaller gifts will fit in? If you purchased a cozy, personalized blanket, you can place some of the smaller (breakable) items in the center of it and then fold the blanket around them. It adds some cushion to the items during transport, saving you from purchasing multitudes of bubble wrap! Bought a bag with lots of inside and outside pockets? Place smaller gifts in them so your friends and family can have some fun “hunting” for their gifts. You could also layer the bottom of the bag with tissue paper and newspaper to place items in a way that they stick out from the bag in a “peek-a-boo” style.
- Change Out What You Use. Sustainability is the name of the game this year. Look for sustainable substitutes for traditional wrapping paper, such as newspaper, and tie your gifts up using twine instead of ribbon. Plus, alternative materials can actually double as more gifts! Many people use newspaper to wrap their kitchen knife set or their breakable dishes. By wrapping their gifts in newspaper–or even butcher paper–your friends and family might be able to use those materials in the future for wrapping other objects.
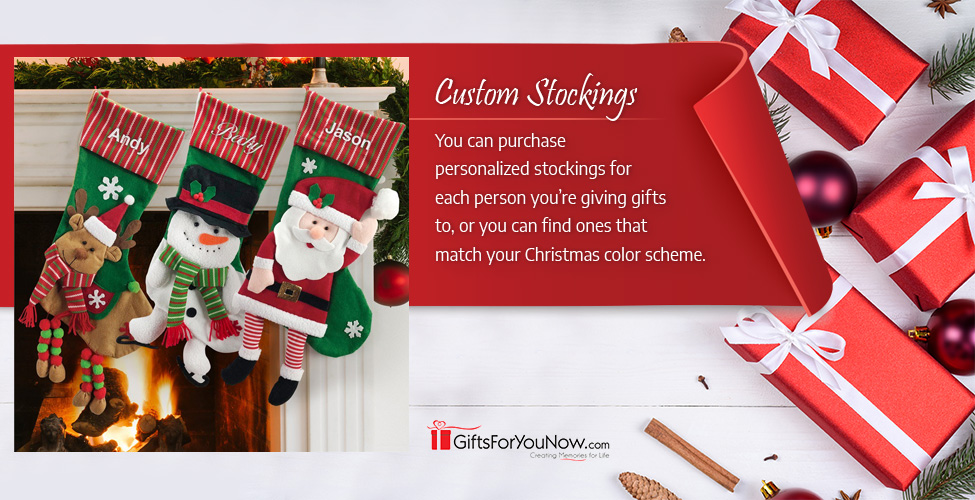
- Stuff the Stockings! Stocking stuffers are great for a reason! Looking for a gift that will hold all your items and can be used in the future? Give out a matching set of fun personalized stockings this year! Stockings come in all sizes, colors and patterns, so they are a great alternative to traditional wrapping paper. You can purchase personalized stockings for each person you’re giving gifts to, or you can find ones that match your Christmas color scheme.
Don’t Go It Alone
Present wrapping is much more fun when others get involved! You’ll want to solicit help from your significant other or kids, especially if you have a lot of presents to wrap.
- Your Kids Can Help–Many kids are creative at heart, and letting them design the wrapping paper this year is a great way to get them involved in wrapping gifts for family and friends! Younger children, especially toddlers, can color on plain wrapping paper with markers or crayons to create a unique design. Older children can draw items that represent that specific family member. Does Grandma bake the best chocolate chip cookies? Does Uncle Terry go to an annual fishing competition? Drawing these items will give your gifts a personalized flair that your family and friends might not expect. They’ll be so glad to receive a present that was wrapped in paper designed specifically for them.
- Don’t Forget the Furry Friends–Did you know that you can involve your pet in the gift wrapping process? Find some pet-safe paint and dip their paws in it! Then, place their paws on the wrapping paper in different areas. Use a different color on each paw to add some dimension to the design. Have a wet cloth on hand to wipe off the paint before it dries. Don’t forget to give them a treat afterward as a thank you for their patience through the process!
Keep Track Along the Way
If you’re not keeping track of your gifts, you can easily end up with lots of unlabeled wrapped gifts, forgetting who each gift is going to. Unlabeled gifts are easily preventable, though! There are many different ways you can organize your gift wrapping so that you don’t lose track. 
- Labels and Stickers–Labels are the traditional option. They come in a variety of options and they allow you to specifically address your presents to different people! Try to match labels to specific people so they’re easier to track. Additionally, you can use personalized holiday stickers to label your presents! Stickers are great if each present is going to be from the same person, such as “The Smith Family.”
- Colors–Use a different color or pattern for each person. Plus, almost everyone has a favorite color! Your friends and family will be so excited that you took the time to wrap their gifts in their favorite color. You could even choose wrapping paper color that matches the gift itself!
- Lists–Don’t throw away the gift lists you made! If you marked all over them, remake new ones. Categorize them by each person you purchased a gift for and then write down each gift you need to wrap. As you wrap each gift, mark it off your list. Make sure you place each person’s gifts in separate areas. You don’t want to mix up gifts or lose track!
- Containers–You can use plastic storage containers to hold all your wrapped gifts. Stick a piece of masking tape on the side and write the name of the friend or family member whose gifts are in the tote. After you ship his or her gifts, you can remove the piece of masking tape and use the storage tote for something else!
- Separate Your Shipping Days–If you’re shipping gifts far distances, don’t go to the post office with all your gifts at one time. On the surface, it might seem like it’s a quick way to get all your gifts shipped out, but you run the risk of sending the wrong gifts to the wrong person. It’s okay to make multiple trips and it’ll save you from a bigger hassle in the long run!
Look Up a Tutorial
Even if you’ve done everything we’ve mentioned, you really might just not know how to actually wrap a gift. To fix this, you can view a video tutorial or, if you’re not a visual learner, you can read a step-by-step tutorial online. Learning how to wrap a gift just takes some patience and practice. 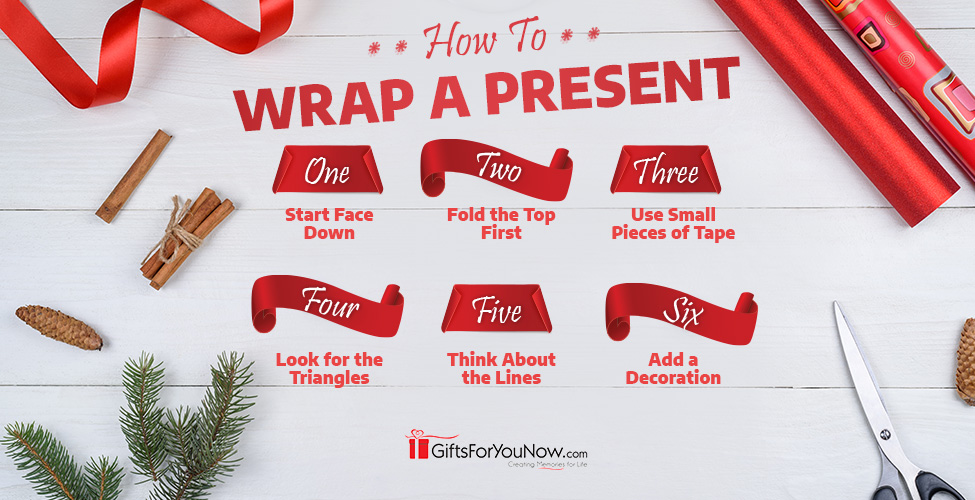
- Start Face Down–Place the gift face down onto the wrapping paper. If you’ve placed your items in a box, make sure you tape the lid down before you place it on the wrapping paper! That way, you won’t run the risk of the lid shifting and spilling any of the gifts inside the box.
- Fold the Top First–Your first folds should be the side facing up at you. This makes folding the sides of the gift easier and more symmetrical.
- Use Small Pieces of Tape–When taping the wrapping paper, remember to use smaller pieces of tape! Not only are smaller pieces easier to tape down (they won’t bend and stick to themselves before you even place them down), but they make it easier for people to open their gifts!
- Look for the Triangles–When wrapping the sides of the gift, especially boxes, look for the triangles! Once you fold down the top section of the wrapping paper and fold up the bottom section, you’ll need to create deep creases on the edges so the paper folds correctly. If you crease properly, you’ll notice you created two triangles. Take the edge of a triangle and tape down the pointed end and then repeat with the other triangle.
- Think About the Lines–Before you start taping down the sides, take a look at your present. Notice how the top part you just taped isn’t connected at the ends? That’s the seam of the gift. You’ll want to make sure you fold and tape the edge of the seam down on the sides first. When you fold up the bottom and then the two side triangles, that unconnected seam won’t show, making your present appear seamless!
- Add a Decoration–Add something extra to the gift, like a bow! You can even tuck some snow-dusted fake leaves under twine or tape them to add a rustic look to your gift wrapping.
Less Stress Is Best
If you’re not careful, the task of wrapping your presents can easily become stressful. We get it–you’ve got tools to keep track of and measuring to do. There are some things you can do to alleviate stress before and during your gift wrapping session. 
- Eliminate Distractions–Try to wrap your presents in a quiet area. If you focus better with background noise, such as music or the television playing in the background, then turn it on! You’ll want to eliminate any distractions. Don’t try wrapping all your presents while baking Christmas cookies or cooking dinner. You’ll be less likely to lose track of time and will knock out your gift wrapping more easily!
- Schedule Time for Wrapping–Mark down when you’re going to wrap presents. This will prevent you from wrapping them 30 minutes before you have to pick up the kids from soccer practice or get to a doctor’s appointment. Set the timer on your phone for however long you want to dedicate to wrapping your presents and stop when the timer is up. If you didn’t get through all of your gifts, schedule another gift wrapping session for later in the day or another time.
- Drink Something Warm and Festive–Does drinking an herbal tea blend or a cup of hot chocolate calm you down? Drink some before and during your present wrapping session. It’ll help you remain calm even when the scissors cut an uneven line or you measure your gifts incorrectly.
- Designate a Trash Pile–After you’ve wrapped your presents, you might be left with pieces of balled-up tape, discarded squares of wrapping paper and price tags. Pick a specific space to place all trash, or bring the trash can to your gift wrapping space! You won’t have to hunt for stray pieces of tape if you have a place to throw any scraps.
Above All…Breathe!
It might seem cliche, but the key to wrapping presents is to breathe! We know it can get stressful, and you want to impress your friends and family with your gift wrapping skills. No matter what, your friends and family will be so grateful that you went out of your way to wrap their gifts. So, this holiday season, take a deep breath and get to work!